Good morning! It looks like it will be a very wet Tuesday in Durham. Sarah and Caitlyn have three invitation ideas for middlers today.
Sensory Invitation: Ice Cream in a Bag
Materials:
2 small resealable bags
1 large freezer bag
Dish/hand towel
Ingredients:
½ cup half-and-half
1 tablespoon sugar
½ teaspoon vanilla extract (optional)
4 cups ice
6 tablespoons salt
For extra flavor add in your favorite pureed fruit (we’ve added strawberries in the past)
In a small resealable bag add in the half-and-half and sugar. Add vanilla extract and/or fruit if you choose. Seal the bag, getting rid of as much air as you can. Next, double-bag it inside a similar-sized bag. Add crushed or cubed ice with the salt into a large freezer bag. You can use any kind of salt, as you won’t actually be eating it. The salt is there to lower the freezing point. Place the double bag in the larger bag, then seal it up, getting rid of as much air as possible.
Wrap the bag in a towel and SHAKE, SHAKE, SHAKE for five minutes or more until it thickens. Enjoy!.
*If you have not done this before, here is the link below for more details*
https://www.tablespoon.com/meals/dessert/how-to-make-ice-cream-in-a-bag
Intent: Some of our middler friends have often talked about how much they love ice cream. This activity allows further sensory exploration for touch, sight, hearing, smell, and taste.
Fine Motor/Building Invitation: Building with blocks. Using any blocks that you have build a playground structure!
Intent: We miss playgrounds so much! Hopefully this activity will bring back fond memories of being with friends and making new ones in shared spaces!
This activity incorporates fine motor development by encouraging the middlers to use their hand muscles to pick up and place the blocks.
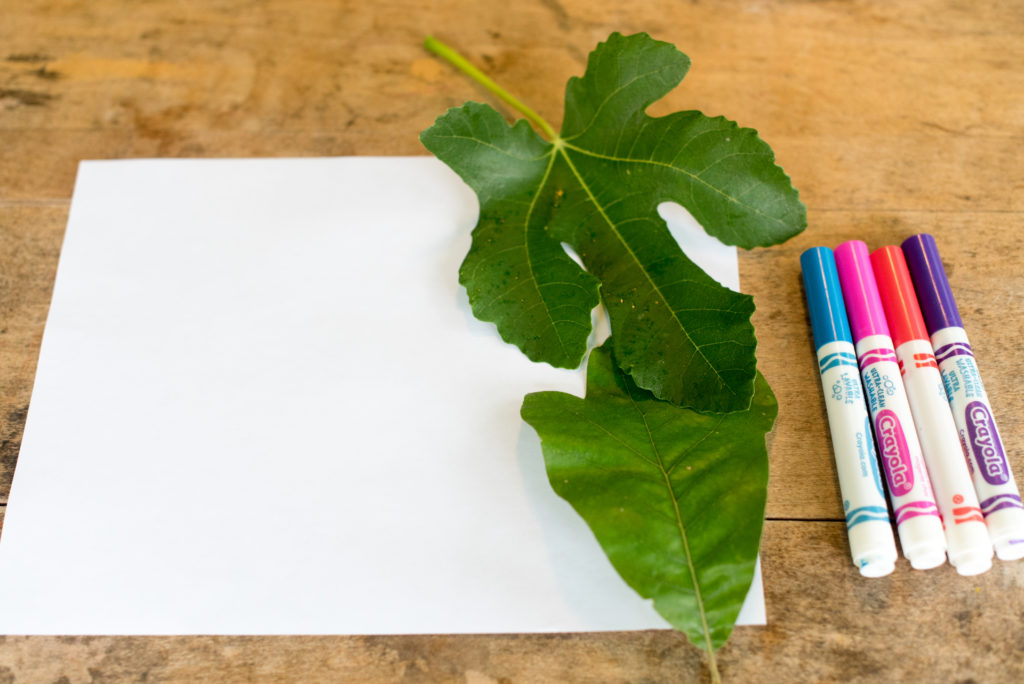
Art Invitation: Leaf Printings
You will need:
A variety of leaves; large flat (have your child collect these leaves outside and dry them off)
Washable markers (fat tipped markers work the best)
Printer paper or card stock
Lay your leaf flat on a piece of paper or paper towel. Start coloring your leaf on the veiny side. Try to add color evenly over the entire leaf, switching up colors as you go. Once your leaf is completely covered you’re ready to print! Take a damp paper towel and wipe across the blank paper (You want the paper damp, not soggy). Turn the colored part of the leaf onto the paper and press down all over so the colors from the leaf transfer to the paper. Carefully remove the leaf to reveal your design!
Intent: This art activity introduces natural materials found outside into a creative project.

Leave a Reply